

Cabinets
The Process

1. Planning & Preperation
The first step of designing a kitchen is measuring the space. The location of the appliances and sink is established by the electrical and plumbing. In this particular kitchen, we removed a rotten chimney that had been leaking for at least thirty years. We also removed the original wood box that would have fed a wood fire to cook on.
The plans of the kitchen were then hand-drawn, and the measurements were calculated based on the size of the space. We then figured out how much material to purchase.
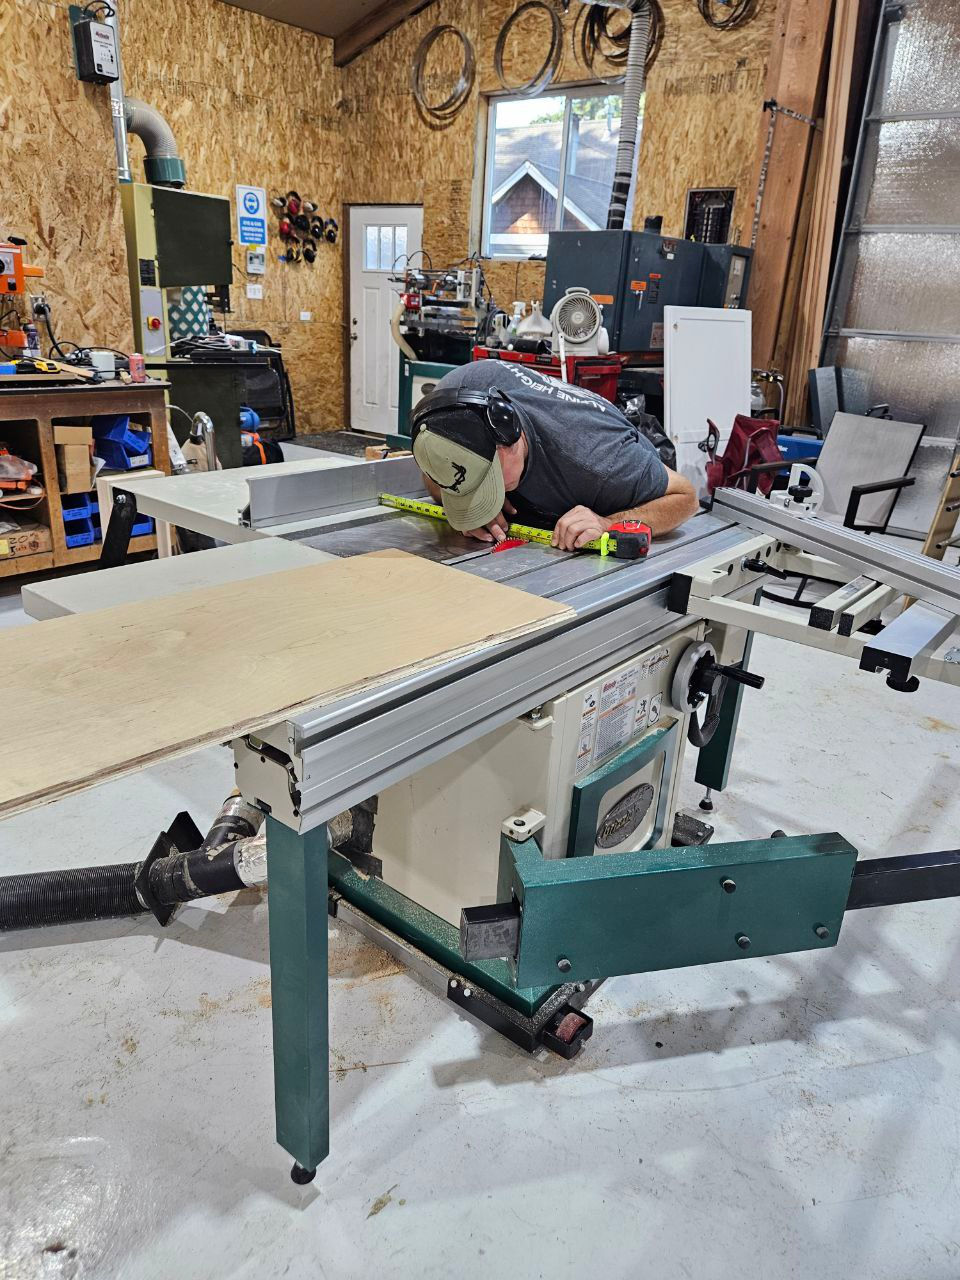
2. Boxes
The boxes are made out of maple plywood. We sourced the materials from Crosscut Hardwoods in Portland, Oregon. This cabinet package took about two units of plywood to construct, taking about four days to build all the boxes.

3. Face Frames
All of the face frames are made out of Eastern Maple, a wood known for being especially hard and durable. This ensures the frames will withstand many years of use.
We sourced our material from Lincoln Creek Lumber, a local lumberyard established in the early 1900s.

4. Drawers
The first step to building the drawers is to plane and join all the stock material to the dimensions. The material is then cut to length from a master cutlist. Then, the 5'8 solid maple goes into the dovetail machine where the jointery is cut. A dado is then put on the bottom of the inside of the drawers to house the maple plywood bottom. Finally, the 5 pieces are glued and assembled.


5. Install
The first step to installing cabinets is to build a toe kick, which is done so that the cabinets sit at the correct elevation. Some plumbing and a toe-kick heater go in this space. The boxes are then attached to the toe kick.
Then, the Blume hardware for the drawers and pullouts is installed. After that, the Blume hinges are installed as well for the doors. The doors are full overlay, meaning that they hide the frame from sight.

6. Paint
We painted all of the cabinets in place. To accomplish this, we needed to tape off and paper the doors that would later get glass. Painting in place allows for there to be fewer lines and a more custom high-end finish.


7. Glass & Hardware
The glass was purchased from a company based in Vancouver, Washington. We went with glass designed to have a led look to it in order to keep it more historical looking.
The handles are brass, the lowers have 5" handles, the uppers have 3" handles and the pantry doors have 12" handles.

The Hood


Doors, Stiles, & Rails


Cutting rabbit joint for glass doors.

Easing the edge with an 1/8" round over bit on the over under rounter table.

Cutting rails and stiles with the shaper. Rails and stiles are the pieces that make up a cabinet door.

.png)